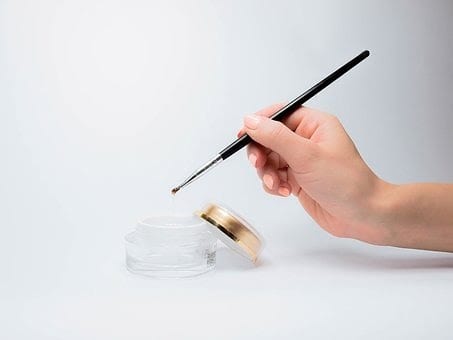
Would you like to make fabulous gel nails from home that will save you time and money? Or do you prefer purchasing a superb Gel manicure kit? Some people hate bare nails as polished nails could enhance their looks better. Do you know that you can do gel nails from the comfort of your home? This is great for anyone who loves aesthetic nail art and wants to reduce gel manicure expenses (about $40 per session).
Gel manicure is not only for those who love fabulous nails; anyone can do it to enhance their look. Most women do it every two to three weeks with this simple DIY method.
How to do Your Gel Nail at Home
1st step – Buy an ultraviolet/LED light and Gel polishes for your nail
Go for a custom ultraviolet light that costs about $68. Led lights to remove the polish quicker than ultraviolet, so you might spend a little more time using UV lights. You can purchase a gel nail kit online from a top brand, or if you aren’t satisfied with the variety of colors they offer, you can place an order on Amazon to buy a few more beautiful colors for your DIY nails.
Nail colors range from $9 to $12 per bottle and are cheaper on Amazon for similar brands. You may use finger paints gel polish for several weeks for your top coat, base coat, and white polish colors.
To prevent the polish from peeling and gathering at the corner within some days, purchase a Gelish pH Balance, topcoat, and a foundation base coat. You will notice a significant difference as your nails’ color won’t fade because the pH balance will dehydrate your nail for the polish to glue well.
Find a reputable brand that sells a wide variety of summer colors that perform well. Most people use Gelish and Gelaze for a light pink and shimmery gold shade. The Gelish top & base coat are more than finger paints and make the nails turn out much professional. Gelish tops and the base coat are costlier, but they last longer than nails done in a salon, so it’s worth the cost. Another fantastic brand is Red Carpet Manicure which provides perfect nude and a phenomenal shade known as ‘timeless.’
2nd Step – Buff off
Buff off your actual nails using a nail cube and file to whichever shape you want. Cut all hangnails or cuticle corners, then wash your hands. Your nail cube should function like those used in salons. It must be convenient, smooth, and have different sides for ridge removal, buff, and shine.
Spend adequate time on every nail to make them shiny and as accessible as possible so that you have a pretty canvas for the polish at the end of the day (some prefer a very natural curve and nails that are moderate in length). Then, add a little amount of cuticle cream and cut down your nails or cuticle so they look elegant even before you polish.
3rd Step – Apply Acetone
Apply it on your fingers as well as the pH Balance dehydrator. This step is necessary for the polish to stay up to 2 weeks. Use the nail dehydrator to make your polish last more. Ensure you don’t miss this step because it makes all the difference irrespective of where you are doing it.
4th Step – Time to Polish
Place the initial thin coat of gel polish on your nails (it must be streaky). Dip the angled brush into acetone to remove all excess polish from your entangled skin and cuticles.
5th Step – Secure
Make the topcoat thin one more time, just like was done previously. The topcoat could be fluid, making the excess drop off to the nails’ corner conveniently, so add it carefully.
Ensure you wipe off the edges of your nails (as well as the cuticles) using the angled brush. Add the polish’s second thin coat, care for the cuticles if necessary. If the second coat of polish is still opaque or streaky after application, use a third thin coat and repeat the steps.
6th Step – Add Polish Color Coats
Add 2 or 3 thin polish color coats, and cure. Ensure that the coats are as thin as you can get, so the polish is not abnormally thick during use. Apply two thin coats of your polish, then cure (using the exact timing for Ultraviolet vs. Led as stated earlier, but cure only once after application.)
If you want to apply nail art to any of your nails, you can decide to do it at this stage. White flowers can be done at this step and cured simultaneously.
7th Step – Clean Sticky Leftovers
At this stage, leave your nails as they’ll be sticky. Clean lightly using a paper towel placed in rubbing alcohol to eliminate the stickiness. If you like, apply a moderate swipe of cuticle oil to moisten the nail bed, but it’s your choice (it is oily).
Summary
Doing your gel nail at home is easy, as long as you know the steps and how to tweak it for varied results. With the steps outlined in this guide, you can create fabulous-looking gel nails in no time.
Help keep news FREE for our readers
Supporting your local community newspaper/online news outlet is crucial now more than ever. If you believe in independent journalism, then consider making a valuable contribution by making a one-time or monthly donation. We operate in rural areas where providing unbiased news can be challenging. Read More About Supporting The West Wales Chronicle


