We all love to collect unique antique pieces, art, marble statues, etc. These are a great addition to your home decor and make your home look more aesthetic. Many times it happens that our precious collectibles get ruined with dirt and grime. No matter how carefully you clean them, they somehow become dirty and turn yellowish and ugly.
You may also have seen these precious collectibles lose shine with time. It is impractical to cover them with a cloth and lock them in a closet to keep them clean and dust-free all the time. And besides, the purpose of decorating your home will be lost.
Acrylic covers can come in handy to keep your record player, antique marble pieces, artwork all clean and shiny.
If you have not heard about acrylic dust covers till now, you must look them up on the internet. They are transparent and shiny and can protect your antique art and pieces nicely. Music lovers use acrylic covers for their turntables to prevent them from dust. But manufactured acrylic covers are a bit costly.
However, you can customize the acrylic cover for your record player or art pieces by yourself at home. They are easy to make, and you can easily find and get all the required material online. Also, a fun fact is that the cost to DIY an acrylic cover is way less than a readymade one.
In this article, we have jotted down five DIY tips which you can use to create an acrylic dust cover.
Firstly Arrange All The Required Material
Now, the first step is to arrange all the required materials to build an acrylic dust cover. Here are the things that you need to get started:-
- Acrylic sheets
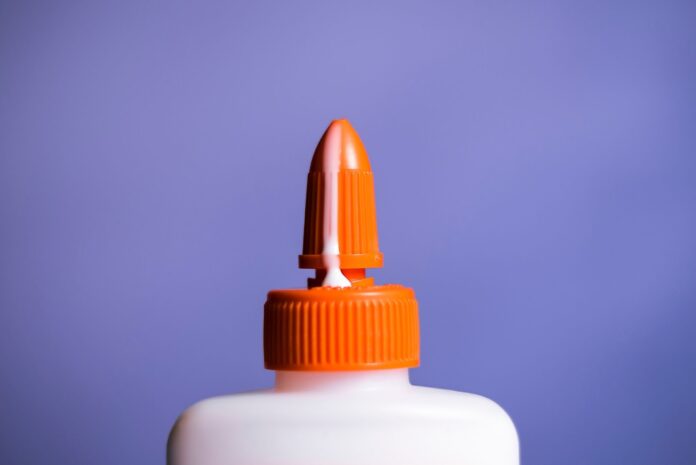
- Acrylic glue
- Microfibre polishing cloth
- Plastic cleaner
- Protective rubber gloves
- Safety glasses
- Sandpaper
- Block hook
- Clamp
- Saber saw (optional)
- Wood jig (optional)
- Masking Tape
- Gas Torch (optional)
You can order good-quality acrylic sheets online or get them from any store if you can find them. If possible, get an extra acrylic sheet if in case you mess up one. Now one thing is that you cannot use any other glue, so you have to get the acrylic glue.
Taking the measurement & marking it
Whether you want to build a dust cover for some antique in your home, or you want it for your turntable, you need to be precise with the measurement. Make sure that you measure the object correctly.
Take the measure of height, width, and length of the object that you want to cover. It is wise to order the acrylic sheet after the measurement. You can order acrylic sheets depending on your requirement and the dimensions after measurement. You will not need a gas torch to slant the acrylic sheet if you want to build a box-size acrylic dust cover.
For a complicated or curvy-shaped acrylic cover, you need the gas torch to bend the acrylic to get that perfect curvy shape. Those who have some experience of using a gas torch can opt for complicated and slanted shapes.
Marking is crucial to get the precise cut. So before using that saber saw, make sure all the markings are correct. Draw the marking on acrylic sheets before using a gas torch too.
Precisely Cutting and preparing the Acrylic Sheets
Now it is time to cut the acrylic sheets. After cutting, you need to smoothen out the rough edges of the acrylic sheets. You also have the option of getting sheets cut from someone professional for straight and flat edges. However, then also, you may need to smoothen the edges a bit. You can use sandpaper (grain 200 or finer) to soften the edges and sides. After sanding, make sure to clean all the edges with the cleaner and then dry the edges with a microfibre cloth.
If you have used a gas torch on the sheet, leave it for an hour or two to let it cool.
Start The Process Of Making Acrylic Cover
Finally, acrylic sheets are ready to be glued. Arrange the acrylic sheets in the position to glue them. You can use a wood jig and clamps to position and hold the acrylic sheets. If you don’t have a wood jig, don’t worry, you can glue acrylic sheets part by part.
Use a needle to apply acrylic glue precisely. Make sure that you apply the glue to the contact surface of sheets and keep the glued parts together for fifteen minutes or more.
Apply glue on side parts first, and then go for the top part of the dust cover. Refrain yourself from going overboard with glue, as it might drip and ruin the acrylic sheets.
Treating The Final Product
It takes a minimum of 24 to 48 hours for the adhesive bond to strengthen fully, hence avoid touching the dust cover before it is ready. You can use masking tape as well on the joints for extra support.
Conclusion
The acrylic sheets are also known as plexiglass, and acrylic is a lot better than regular glass because acrylic is impact-resistant and does not break. Even after breakage, acrylic does not shatter like glass. Another thing about acrylic is they are easy to process and work. However, It is hard to get a perfect finish the first time. Also, make sure that you are using gloves and safety glasses all this while.
Help keep news FREE for our readers
Supporting your local community newspaper/online news outlet is crucial now more than ever. If you believe in independent journalism, then consider making a valuable contribution by making a one-time or monthly donation. We operate in rural areas where providing unbiased news can be challenging. Read More About Supporting The West Wales Chronicle


