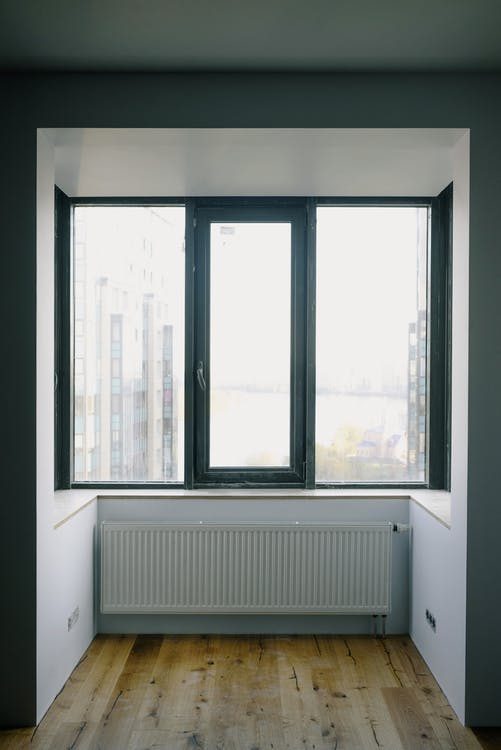
With energy bills set to soar a further £600 in April, energy expert Myles Robinson from Boiler Central reveals how to release trapped air from your radiator, saving you money on your bills. Radiators with trapped air fail to circulate heat properly, meaning you pay full price for heating without getting the right amount of warmth in return. Your heating system will also use more energy to compensate, driving up energy costs.
The process of releasing trapped air from a radiator is called bleeding a radiator. It’s a simple task you can carry out alone, if you follow all the steps safely and properly.
· A radiator bleed key. These are available at any DIY store, if you don’t have one to hand. If you have a modern radiator (built in the last 30 years), a flat headed screwdriver will also do the job just as well. If your radiator was produced more than 30 years ago, it might have a bleed valve which requires a different type of bleed key, called a ‘clock key’. You’ll usually need a clock key between size 8 and 12 to open this kind of valve.
· A cloth rag to catch water. As soon as you’ve bled the air out of your radiator, it will start dripping water, so have the cloth ready to catch it.
· Old towels and dust sheets. Bleeding radiators will inevitably cause some water spillage, so it’s a good idea to lay down towels or dust sheets to protect your floors from damage, especially if you have pale carpets. If you have older radiators the water inside them may have reacted with rust and dirt and become discoloured over the years – even more reason to shield your floors from stains!
Before you start the bleeding process, make sure that your radiator is part of a hot water heating system, rather than a steam one.
Boiler Central’s 6 easy steps to bleed a radiator
1). Turn your central heating on and off
Before anything, you need to find out which radiators in your home need bleeding, as it’s important not to perform the procedure on a radiator that doesn’t need it.
If you try and bleed a radiator that doesn’t have any trapped air to release, water will spill from it as soon as you open the bleed valve. This can rapidly lower your boiler’s water pressure, and your whole system could fail.
Once you’ve turned on your central heating, go around your property and check if any radiators aren’t warming up properly. Remember that if radiators have cold spots or are warm at the bottom but cold at the top, they likely have air blockages. It’s a good idea to wear a pair of light gloves as you check your radiators, to avoid burning yourself on hot radiators.
Don’t forget to check for rattling and gurgling sounds from your radiators, as these are also signs that they need bleeding.
Make a careful note of the radiators which need bleeding during this check. A good tip is to put post-it notes or stickers on the malfunctioning radiators, so you can be sure which ones to start on.
Once you’ve identified which of your radiators need bleeding, make sure you turn your central heating off. Bleeding your radiators with the heating on could seriously injure you, as scalding hot water is likely to burst out of the bleed valve as soon as the air has come out.
When all your radiators are entirely cold to the touch, you can get started on bleeding your radiators.
2). Lay down towels to protect against water escaping
It’s impossible to avoid water spillage when you bleed your radiators, no matter how quickly you close the bleed valve after you’ve let the air escape.
You need to let at least some water to drip out from your radiator so that you can tell when the trapped air has fully escaped. As a result, we suggest putting down towels and dust sheets to protect the floor around your radiators and avoid water damaging your floors or carpet.
You can also use a container to catch any water spills when you’re bleeding your radiator.
3). Use your bleed key to open the radiator bleed valve
Take your radiator key (or flat-headed screwdriver if you don’t have a radiator key to hand), and attach the end of the key to the square slit in the centre of the valve.
When you insert the key into the groove, you’ll feel them click together. Remember that if you have an older radiator, the bleed valve may look different, and you’ll need a clock radiator key to open it.
4). Bleed your radiator
Turn the key in an anti-clockwise direction (use a rag to help grip the key, if the bleed valve is particularly tight). You should hear a hissing noise, which is the trapped air in the top of the radiator starting to escape.
The release of the air from your radiator means that the water in your system now has room to rise. This will happen fairly quickly after you’ve bled out the air, so get your rag ready to catch the drops. Never turn the valve more than a half-turn when you’re opening it and be ready to close it quickly. Modern radiators can release water as a jet and you want to avoid as much spillage and low water pressure as possible.
5). Repeat on all radiators
Once you’ve finished bleeding the radiator, you can go and repeat the procedure on all the other radiators in your home that require bleeding.
You should start with the radiator that is furthest away from your boiler. If your property has two stories, start with the most distant radiator on the ground floor, and work your way up to the top of the house, ending with the radiator closest to the boiler.
6). Check the pressure on your boiler
Bleeding your radiators always involves some loss of water, and this can cause the pressure in your heating system to drop.
Make sure you check your boiler pressure as soon as you finish bleeding the radiators, because if your boiler pressure falls below a safe level, your heating system will become inefficient and use a lot of energy trying to heat your house, driving up your heating bills (the very thing you were trying to avoid by bleeding your radiators!).
To check your boiler’s pressure, look for the water pressure gauge which is usually located on the front of your boiler. If you have a hydraulic gauge (a gauge which displays pressure using a dial), the indicator needle will fall below 1 if there’s not enough water pressure. If you have a digital gauge, you should see a flashing reading if the water pressure is too high or low.
Help keep news FREE for our readers
Supporting your local community newspaper/online news outlet is crucial now more than ever. If you believe in independent journalism, then consider making a valuable contribution by making a one-time or monthly donation. We operate in rural areas where providing unbiased news can be challenging. Read More About Supporting The West Wales Chronicle


